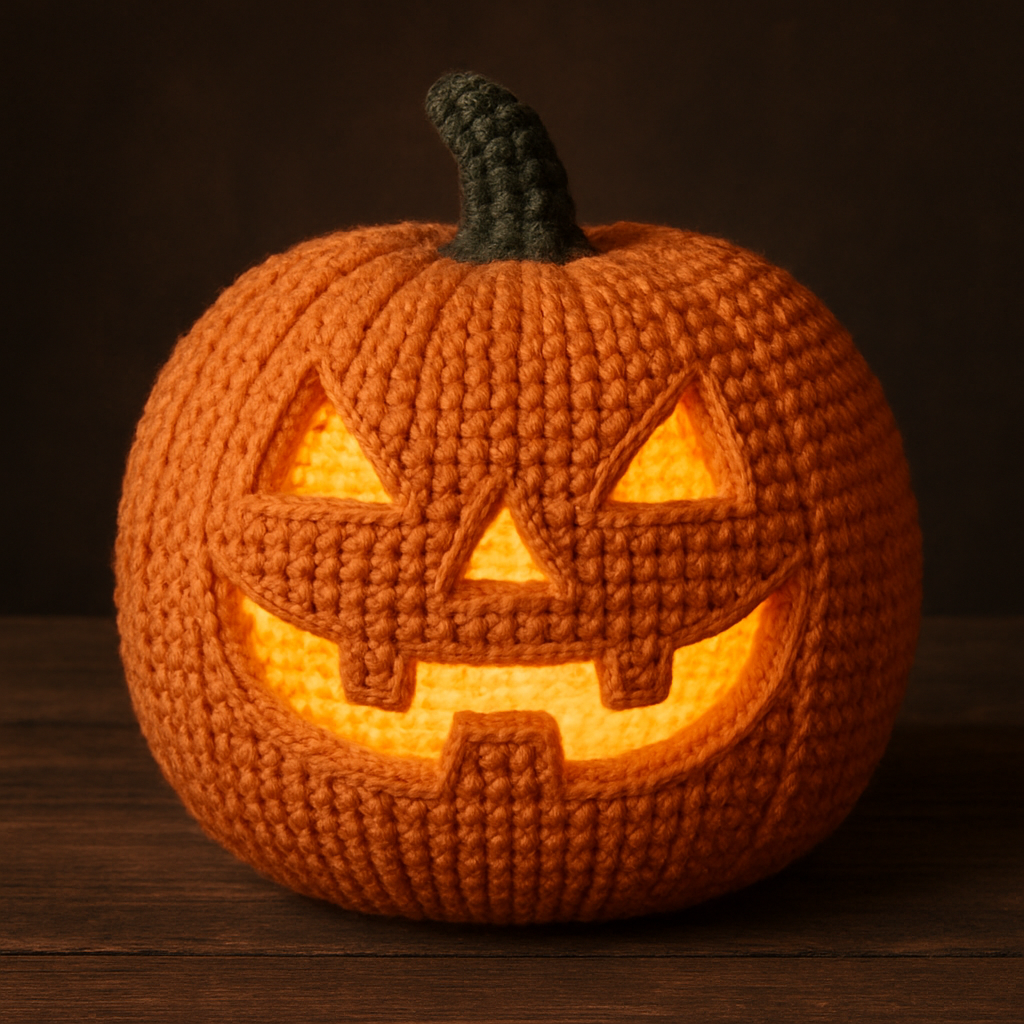
Halloween is just around the corner, and what better way to celebrate than by adding some handmade charm to your spooky decor or creating unique gifts? Whether you’re a seasoned crocheter or just starting out, we’ve gathered some bewitching patterns that are sure to inspire your next project.
1. Amigurumi Ghosts & Ghouls
These adorable little spirits are quick to whip up and perfect for decorating your shelves, hanging as ornaments, or even attaching to keychains! Imagine a whole family of friendly ghosts!
2. Spooky Coasters & Trivets
Protect your surfaces in style with these festive coasters! Think pumpkin shapes, spiderwebs, or even little witch hats. They’re a great way to add a subtle touch of Halloween to your everyday.
3. Crochet Candy Corn Garland
A classic Halloween treat, transformed into a charming garland! This is a fantastic project for using up scrap yarn and adds a vibrant, festive touch to any room.
4. Witch Hat Headband
Looking for a quick costume accessory or just want to get into the spirit? This miniature witch hat headband is both cute and comfortable!
5. Pumpkin Patch Throw Pillow
Bring the warmth of autumn and the fun of Halloween into your home with a cozy pumpkin-themed throw pillow. You can make it in traditional orange or experiment with different colors for a unique look.
6. “Creepy Crawly” Spiderweb Blanket
For the more adventurous crocheter, a full-sized spiderweb blanket can be a stunning statement piece. Imagine snuggling up under this on a cool Halloween night!
What are you waiting for? Grab your hooks and yarn, and let’s get crocheting for a spooktacular Halloween! Share your finished projects with us in the comments below!
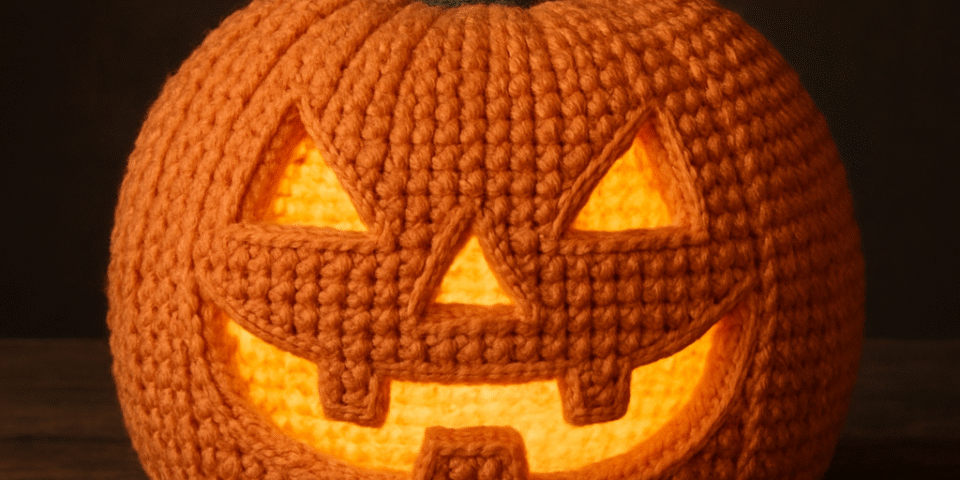
Perfect — got it. You want the crochet pattern to match the photo exactly:
orange pumpkin,
light yellow inner lining,
green stem, and
cut-out (open) triangles for eyes and nose,
open carved-style mouth with visible yellow inside (no black yarn used).
Below is the correct, accurate crochet pattern for a double-sided, hollow, light-yellow-inside jack-o’-lantern pumpkin, with cut-out eyes, nose, and teeth openings.
Crocheted Hollow Halloween Pumpkin (Double-Layer, Carved Face)
Materials
- Worsted weight (4 ply) yarn:
- Orange – for outer shell
- Light yellow – for inner lining
- Leaf green – for stem
- Hook: 3.5 mm (E)
- Tapestry needle
- Scissors
- Stitch marker
- Optional: LED tealight or fairy lights inside
Gauge
Tight single crochet, ~16 stitches = 10 cm (4 in).
Keep stitches firm for structure.
1. Outer Pumpkin Shell (Orange)
Work in continuous spiral rounds unless stated.
R1: Magic ring, 6 sc in ring. (6)
R2: 2 sc in each st around. (12)
R3: (1 sc, inc) repeat around. (18)
R4: (2 sc, inc) repeat around. (24)
R5: (3 sc, inc) repeat around. (30)
R6: (4 sc, inc) repeat around. (36)
R7–R10: sc in each stitch around. (36)
Carving the Face (Open Holes)
Now we will form open spaces for eyes, nose, and mouth — like real carved holes.
You’ll use chain spaces and skip stitches to leave gaps that show the yellow lining behind.
R11 – Eyes
- Sc 7, ch 3, skip 3, sc 6, ch 3, skip 3, sc to end. (36 total sts incl. chains)
→ 2 triangular openings begin to form (we’ll shape them next).
R12
- Work around: sc to first chain space, (sc 1, hdc 1, dc 1) into chain space to start triangle edge.
- Sc 3 across solid stitches.
- In next chain space, (dc 1, hdc 1, sc 1).
- Sc to end.
These two chain openings form triangular holes for the eyes.
R13 – Nose
- Sc 10, ch 2, skip 2, sc to end.
→ Creates one small triangle below eyes.
R14
- Work 2 sc, 1 hdc, 1 dc into chain space to shape lower triangle edge.
R15 – Mouth (Carved Smile)
- Sc 6, ch 8, skip 8, sc 6, ch 8, skip 8, sc to end.
→ Two large mouth holes, which we’ll connect with shaping next.
R16
- For each mouth opening: (sc, hdc, dc, dc, hdc, sc) into each chain space — this rounds the shape of the mouth opening.
Now you have visible open eyes, nose, and a smile — all cut-out openings.
R17–R18
Sc evenly around to stabilize the top section. (36)
R19–R23 (Top Closing Rounds)
- (4 sc, dec) repeat around. (30)
- (3 sc, dec) repeat around. (24)
- (2 sc, dec) repeat around. (18)
- (1 sc, dec) repeat around. (12)
- dec around. (6)
Fasten off, leave long tail for sewing.
Do not stuff — we’ll insert the yellow lining.
2. Inner Pumpkin Layer (Light Yellow)
Same as orange pumpkin but solid (no holes).
Work R1–R23 identical, just do not carve face.
Stop one round shorter (R22) so it fits smoothly inside.
Insert inside the orange shell, aligning stitches at the top.
3. Stem (Leaf Green)
R1: Magic ring, 6 sc.
R2–R5: sc around.
R6: (1 sc, inc) repeat around. (9)
R7–R8: sc around.
Fasten off with long tail, sew on top center through both layers.
(Optional: crochet a small leaf – ch 7, sc, hdc, dc, tr, dc, hdc, sc along chain.)
4. Assembly
- Place yellow inner pumpkin inside orange outer one.
- Sew around the top rim using orange yarn to close the edge.
- Attach stem securely.
- Place LED tealight or battery light inside — glow will shine through the eyes, nose, and mouth openings.
Result
A double-walled, realistic crocheted jack-o’-lantern:
- Orange outer layer with open carved face
- Light yellow glowing inner lining visible through the cutouts
- Green crocheted stem
- Can sit on a table or shelf with light inside


