- July 24, 2023
- Velvet North
- 0 Comments
- Tutorials
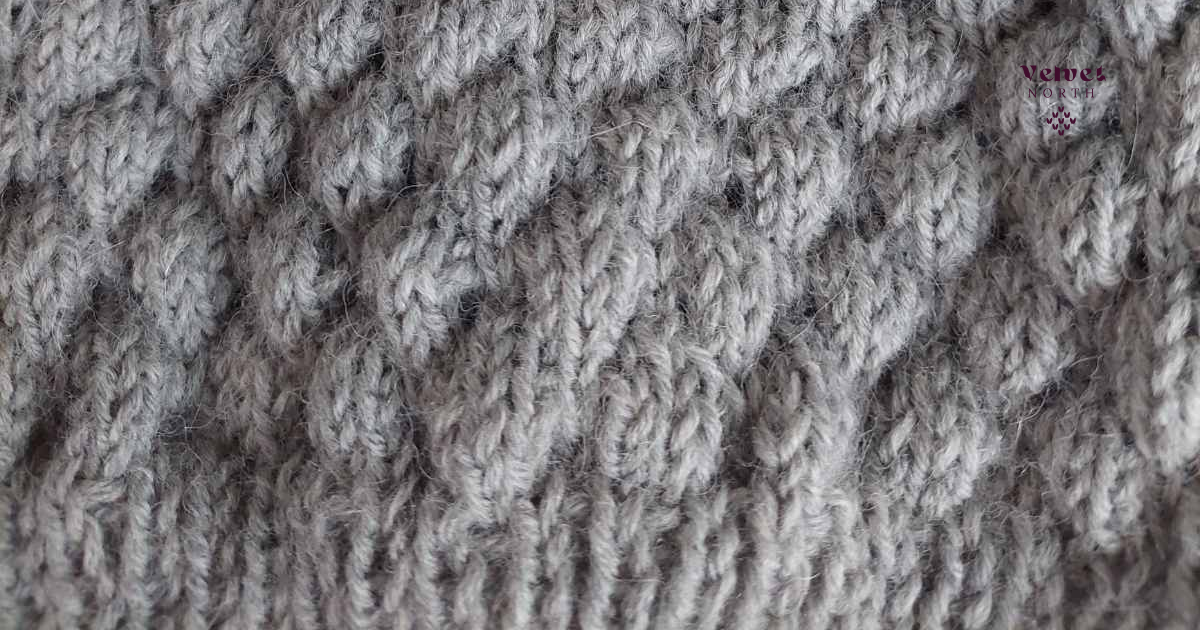
Are you a knitting enthusiast looking to add some flair to your projects? Look no further than the K4 Below stitch! This versatile technique allows you to create mesmerizing bubble patterns that will make your knitting stand out from the crowd. In this blog post, we’ll explore the secrets to mastering the K4 Below stitch and unleash your creativity. Let’s dive in!
Table of Contents
ToggleUnveiling the K4 Below Stitch:
The K4 Below stitch is an innovative knitting technique that adds depth and texture to your projects. It involves working stitches from several rows below, creating an illusion of bubbles on your fabric. While it may sound complex, fear not! With a bit of practice, you’ll be a pro in no time.

Step-by-Step Guide:
1. Knit the first stitch as usual.
2. Insert your right-hand needle into the stitch below the next stitch on your left-hand needle, going four rows down.
3. Wrap the yarn around the right-hand needle and pull it through, just like a regular knit stitch.
4. Slip both the stitch you just worked and the stitch above it off the left-hand needle.
5. Repeat steps 2-4 until you’ve worked all the desired K4 Below stitches.
Tips for Success:
– Practice on a swatch before incorporating the K4 Below stitch into a larger project. This will help you familiarize yourself with the technique and ensure consistent tension.
– Pay attention to your tension while working the K4 Below stitch. Avoid pulling the yarn too tightly, as it may distort the bubble pattern.
– Experiment with different yarn colors and textures to create unique effects. The K4 Below stitch is particularly stunning when combined with variegated or self-striping yarns.
Final Thoughts:
The K4 Below stitch opens up a world of possibilities for knitters seeking to add depth and visual interest to their projects. Whether you’re knitting a cozy sweater, a stylish hat, or a beautiful scarf, mastering this technique will

