- September 16, 2021
- Velvet North
- 0 Comments
- Knitting guides
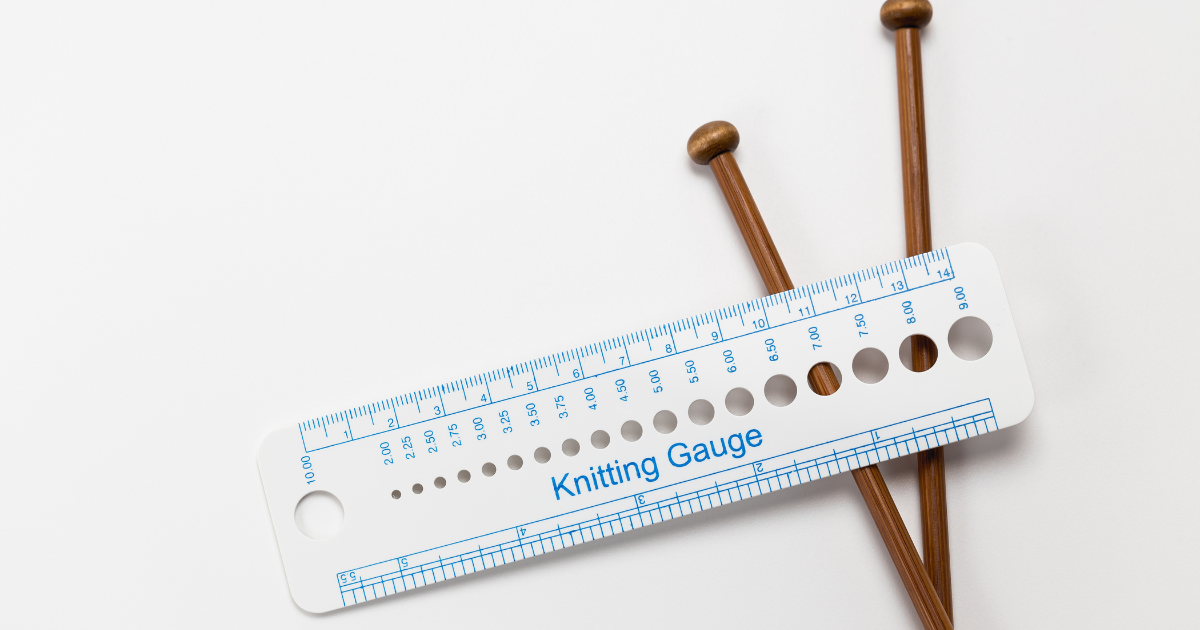
Knitting gauge is a crucial element of any knitting project, yet it’s often overlooked by novice knitters. Knitting gauge refers to the number of stitches and rows per inch achieved when knitting with a particular yarn and needle size. It may seem like a small detail, but getting your gauge right can make all the difference in the fit and overall appearance of your finished garment or accessory.
Table of Contents
ToggleWhy is Knitting Gauge Important?
Knitting gauge determines the size and shape of your finished project. For example, if you’re knitting a sweater and your gauge is too loose, the finished sweater will be too large. If your gauge is too tight, the sweater will be too small. Getting gauge right ensures that your finished project matches the measurements and size specified in the pattern.
In addition to affecting the size and fit of your project, gauge can also affect the texture and drape of your finished fabric. If your gauge is too loose, the fabric may be airy and see-through. If it’s too tight, the fabric may be stiff and inflexible. Getting gauge right ensures that your finished fabric has the desired texture and drape.
How to Measure Knitting Gauge
Measuring gauge is relatively simple, but it requires a bit of preparation. To measure your gauge, you’ll need to knit a swatch using the same yarn and needles you plan to use for your project. Here are the steps to follow:
Choose the correct needles and yarn: Use the same needles and yarn you plan to use for your project. If the pattern specifies a particular type of yarn or needle size, be sure to use those.
Cast on: Cast on a sufficient number of stitches to create a swatch that’s at least 4 inches square. If the pattern specifies a different size, follow those instructions.
Knit the swatch: Knit the swatch in the stitch pattern specified in the pattern. If the pattern doesn’t specify a stitch pattern, use stockinette stitch (knit on the right side, purl on the wrong side).
Block the swatch: Block the swatch as you would the finished project. This means washing and drying the swatch according to the yarn’s care instructions.
Measure the swatch: Use a ruler or tape measure to measure the number of stitches and rows per inch. Count the number of stitches in one inch horizontally and the number of rows in one inch vertically.
Adjust needle size if necessary: If your gauge is off, you may need to adjust your needle size. If your gauge is too loose, try using smaller needles. If it’s too tight, try using larger needles.
Tips for Achieving the Correct Knitting Gauge
Achieving the correct knitting gauge can be challenging, especially for novice knitters. Here are some tips to help you get it right:
- Use the same yarn and needles specified in the pattern.
- Make sure you’re using the correct tension when knitting the swatch. This means knitting neither too tightly nor too loosely.
- Check your gauge after a few rows to make sure you’re on track. Remember different stitch – different gauge. For example honeycomb brioche stitch gauge will be diferent then stockinette stich.
- If you’re using a variegated yarn, be aware that it may affect your gauge.
- Make sure your swatch is large enough to get an accurate measurement.
- Block your swatch as you would the finished project to ensure an accurate measurement.
- Keep practicing! Achieving gauge takes practice, so don’t be discouraged if it takes a few tries to get it right.
“Keep practicing! Achieving gauge takes practice, so don’t be discouraged if it takes a few tries to get it right. ”
In Conclusion
Knitting gauge may seem like a small detail, but it can make all the difference in the fit and appearance of your finished project. By taking the time to measure your gauge and adjust your needle size if necessary. Read more how to master Yarn Calculations for Perfect Projects.

